Compiling ZLMediaKit on Windows 11
I previously built a lightweight GB28181 platform, but installing it required some familiarity with containers, which made the experience a bit inconvenient. So I decided to package it as a double-click-to-run application for end users. To achieve this, ZLMediaKit needs to be compiled on Windows.
This document explains how to compile ZLMediaKit on Windows 11.
During compilation following the official tutorial, I encountered several errors and found some parts of the documentation unclear. I felt it was necessary to write a supplementary guide.
Please follow the steps one by one.
1. Prerequisites
Before starting the build, make sure the following software is installed in your development environment:
- Visual Studio: VS2022 (with the Desktop development with C++ workload installed).
- Git: For cloning the repository.
I performed the build on Windows 11 with VS2022. You do not need to open VS2022 during the build process — only PowerShell and the x64 Native Tools Command Prompt for VS 2022 are needed.
2. Get the Source Code
Open a command-line tool (CMD or PowerShell) and run the following commands to clone the repository and initialize submodules:
1 | # Clone the main repository |
The code I compiled is from the latest master branch as of 2026/3/1.
3. Windows Build Using scoop + vcpkg
Note: The following is based on the ZLMediaKit official documentation for Windows compilation, with some modifications I made to ensure a successful build.
The following describes one way to compile ZLMediaKit using scoop + vcpkg.
scoop: A command-line package manager for Windowsvcpkg: A C++ library manager initiated by Microsoft, containing a large number of commonly used open-source libraries
Since both tools are command-line based, they integrate very well into automated workflows. Highly recommended.
⚠️ Note
- All operations below must be performed in a PowerShell terminal unless otherwise specified.
4. Install Build Dependencies via scoop and vcpkg
4.1 Download and Install scoop, Then Install Dependency Tools
Note: Simply run the commands below directly in PowerShell. Errors are rare in this step.
The following installs the dependency tools cmake and ninja (optional but recommended). Skip this step if they are already installed.
For full details, refer to the official documentation. The following lists only the relevant brief steps:
Set the
SCOOPenvironment variable to configure the installation directory for scoop and the packages it manages:1
$env:SCOOP = 'C:\work\develop\scoop'
Allow PowerShell script execution for the current user:
1
Set-ExecutionPolicy -ExecutionPolicy RemoteSigned -Scope CurrentUser
Install
scoop:1
iwr -useb get.scoop.sh | iex
Add the
extrasbucket toscoop:1
scoop bucket add extras
Install
cmakeandninja:1
scoop install cmake ninja
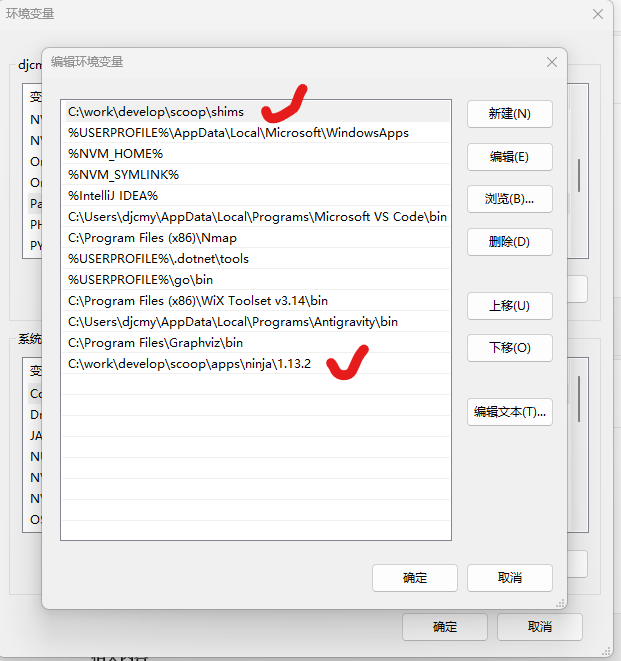
💡 Tip: For convenience later, set
C:\work\develop\scoopas theSCOOPenvironment variable and appendC:\work\develop\scoop\shimsto thePATHenvironment variable.

4.2 Download and Configure vcpkg, Then Install Dependency Libraries
The following installs the required dependency libraries, specifically: openssl and libsrtp. Other optional dependencies (e.g. ffmpeg) should also be installable, though they have not been tested yet.
For detailed vcpkg usage, refer to:
Download
vcpkg, which includes various configuration scripts and build scripts for open-source libraries. Assume the download path isC:\work\develop:1
git clone https://github.com/microsoft/vcpkg
Download the pre-built
vcpkgpackage manager tool:1
.\vcpkg\bootstrap-vcpkg.bat -disableMetrics
Build
openssl:1
.\vcpkg\vcpkg.exe install --triplet=x64-windows-static openssl
Build
libsrtp(requiresENABLE_OPENSSL):Edit
C:\work\develop\vcpkg\ports\libsrtp\portfile.cmakeand updatevcpkg_configure_cmaketo the following: (Note: the configuration below has been updated to match the current version)1
2
3
4
5
6
7
8vcpkg_cmake_configure(
SOURCE_PATH "${SOURCE_PATH}"
OPTIONS
"-DCMAKE_PROJECT_INCLUDE=${CMAKE_CURRENT_LIST_DIR}/cmake-project-include.cmake"
-DLIBSRTP_TEST_APPS=OFF
-DENABLE_OPENSSL:BOOL=ON
${FEATURE_OPTIONS}
)Then build (official method):
1
.\vcpkg\vcpkg.exe install --triplet=x64-windows-static libsrtp
Or alternatively (the method I used later):
1
.\vcpkg\vcpkg.exe install "libsrtp[openssl]:x64-windows-static"
Note: I successfully compiled the program using method 1, but later discovered a WebRTC issue. After investigation, it appeared to be a compatibility problem between OpenSSL and libsrtp. I had originally built libsrtp using the official method, and the issue was resolved only after rebuilding libsrtp with the command above.
1
2
3
# Uninstall first, then reinstall
.\vcpkg\vcpkg.exe remove libsrtp:x64-windows-static --recurse
.\vcpkg\vcpkg.exe install "libsrtp[openssl]:x64-windows-static"
5. Compile ZLMediaKit
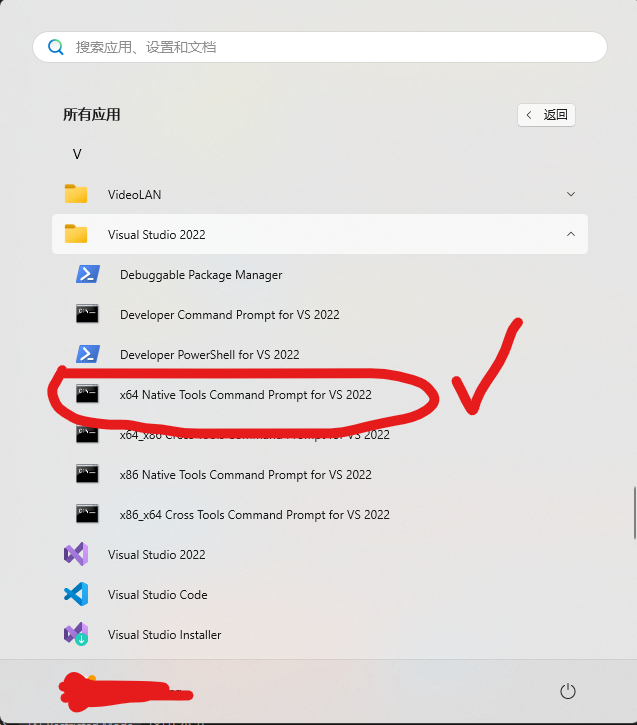
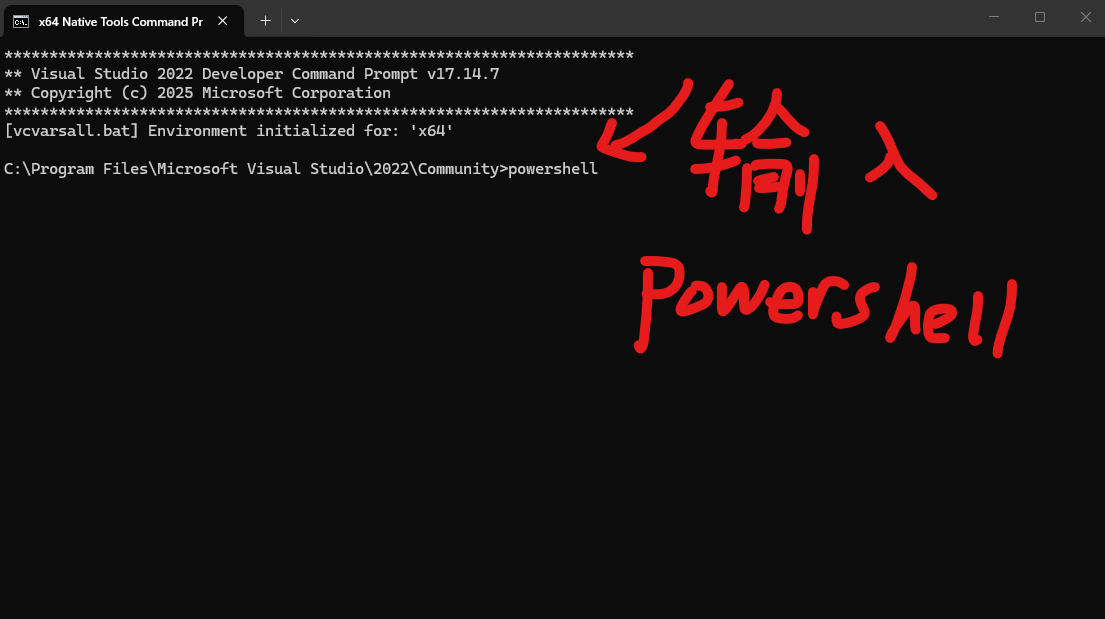
Open the VS2022 developer command prompt from the Start Menu (x64 Native Tools Command Prompt for VS 2022). The PowerShell-based x64 version may not be available by default — you can start with the cmd version and then run powershell to switch to PowerShell.
5.1 Modify CMakeLists.txt
Search for OPENSSL_LIBRARIES in the file and replace the surrounding block with the following:
1 | Check if openssl is installed |
The key change is to replace the block with the following snippet — leave the rest untouched (the exact location may vary between ZLMediaKit versions, so pay attention to where you apply the change):
1 | if(CMAKE_SYSTEM_NAME MATCHES "Linux" AND OPENSSL_USE_STATIC_LIBS) |
5.2 Run the Build Commands
1 | # Run the following commands from the ZLMediaKit source root directory. |
After a successful build, a release directory will appear in the source root containing the compiled binaries.
6. Running
Navigate to C:\work\develop\ZLMediaKit\release\windows\RelWithDebInfo and double-click MediaServer.exe to run it directly.
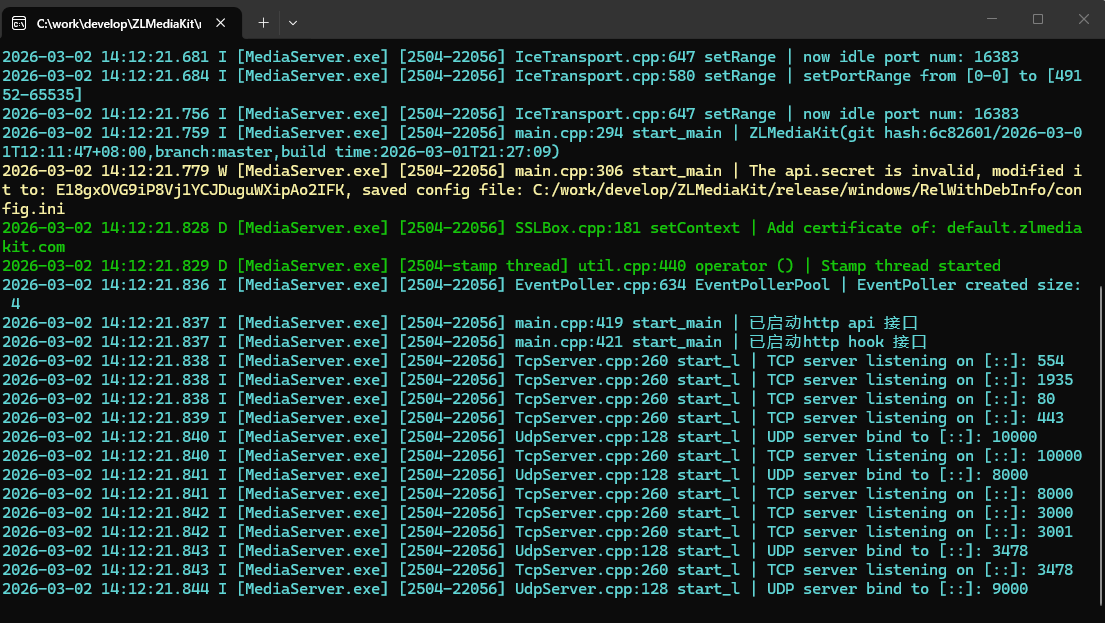
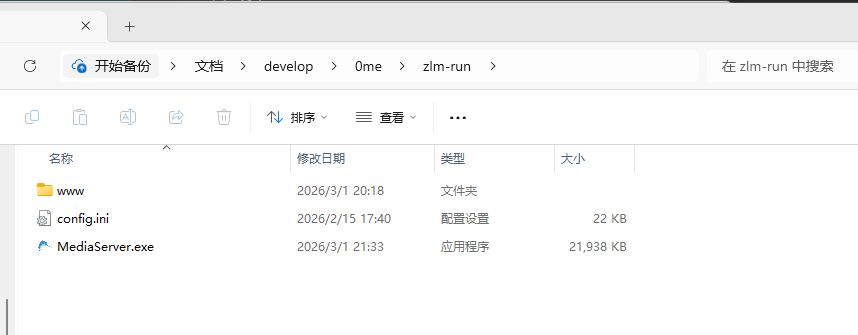
You only need to copy MediaServer.exe, MediaServer.pdb, and the www directory to another location to use the basic functionality.
7. Troubleshooting
Issue 1: WebRTC Shows an OpenSSL Error
Cause: A compatibility issue between OpenSSL and libsrtp. libsrtp needs to be rebuilt.
1 | # Uninstall first, then reinstall |